App 만들기
App 만들기
기본 구조
1
2
3
4
5
6
7
8
9
10
11
12
13
14
15
library(shiny)
library(bslib)

# Define UI ----
ui <- page_sidebar(

)

# Define server logic ----
server <- function(input, output) {

}

# Run the app ----
shinyApp(ui = ui, server = server)
Shiny app 개발 구조는 위 형태와 같다. ui 부분과 ui에 가공된 데이터를 제공하는 server 부분 그리고 app을 구동 시키는 함수로 구성된다. 위 코드는 app.R 파일에 작성하고 Run App 버튼이나 Ctrl + Shift + Enter로 app을 실행할 수 있다.
레이아웃
1
2
3
4
5
6
7
8
ui <- page_sidebar(
# 상단 제목 영역
  title = "title panel",
# 좌측 메뉴 영역
  sidebar = sidebar("sidebar"),
# 우측 내용 영역
  "main contents"
)
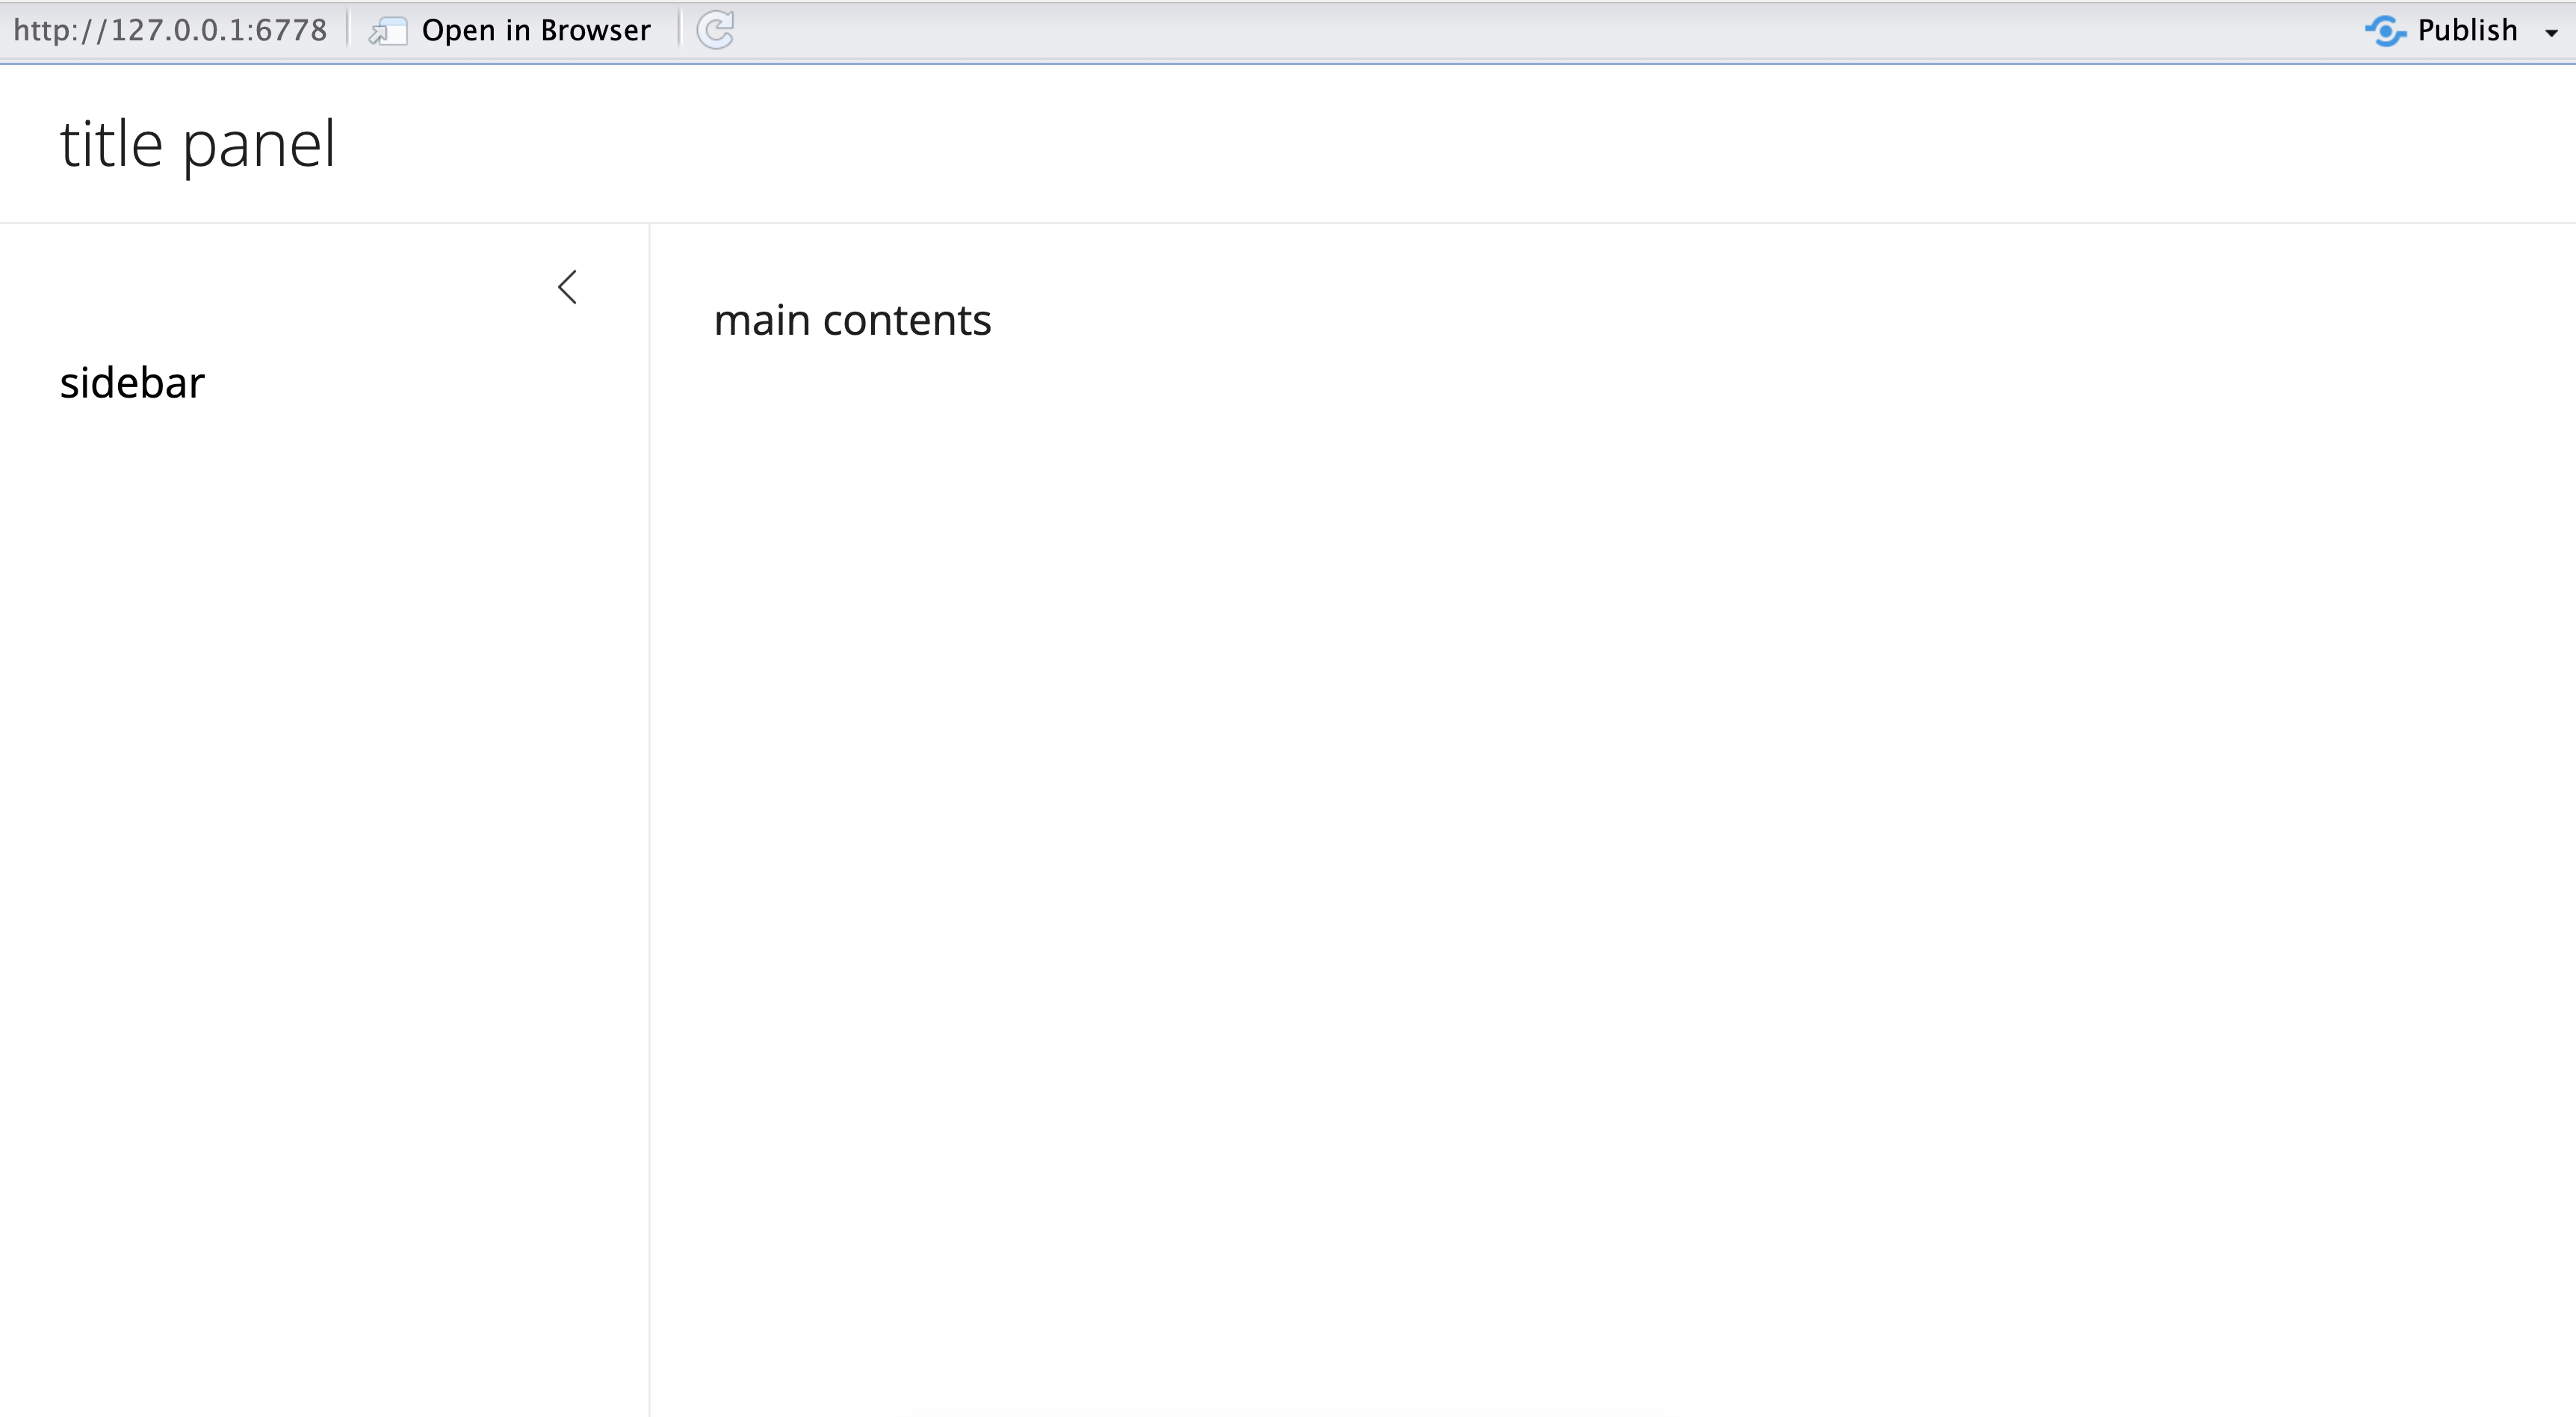
page_sidebar() 함수를 통해 기본적인 앱 형태를 구성할 수 있다. 위 코드는 아래와 같이 상단 제목, 좌측 메뉴 부분, 우측 본문 부분으로 구성된다.
자세한 레이아웃 관련 내용은 Shiny Application Layout Guide 참조한다.
Cards
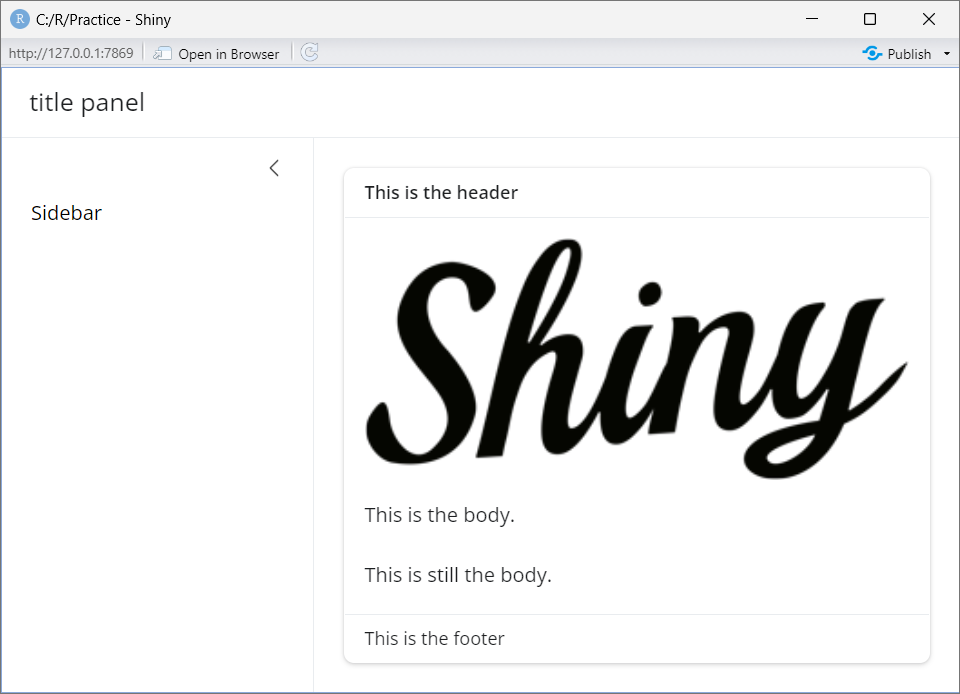
우측 내용 영역을 표시하는 방법은 다양하다. bslib::card() 함수를 사용하면 항목별 가독성을 주어 내용을 쉽게 파악할 수 있다.
1
2
3
4
5
6
7
8
9
10
11
card(
  ...,
  full_screen = FALSE,
  height = NULL,
  max_height = NULL,
  min_height = NULL,
  fill = TRUE,
  class = NULL,
  wrapper = card_body,
  id = NULL
)
1
2
3
4
5
6
7
8
9
10
11
12
13
14
15
16
17
ui <- page_sidebar(
  title = "title panel",
  sidebar = sidebar("Sidebar"),
  card(
    card_header(
      "This is the header"
    ),
    card_image("https://shiny.posit.co/images/shiny-solo.png"),
    card_body(
      p("This is the body."),
      p("This is still the body.")
    ),
    card_footer(
      "This is the footer"
    )
  )
)
Value Box
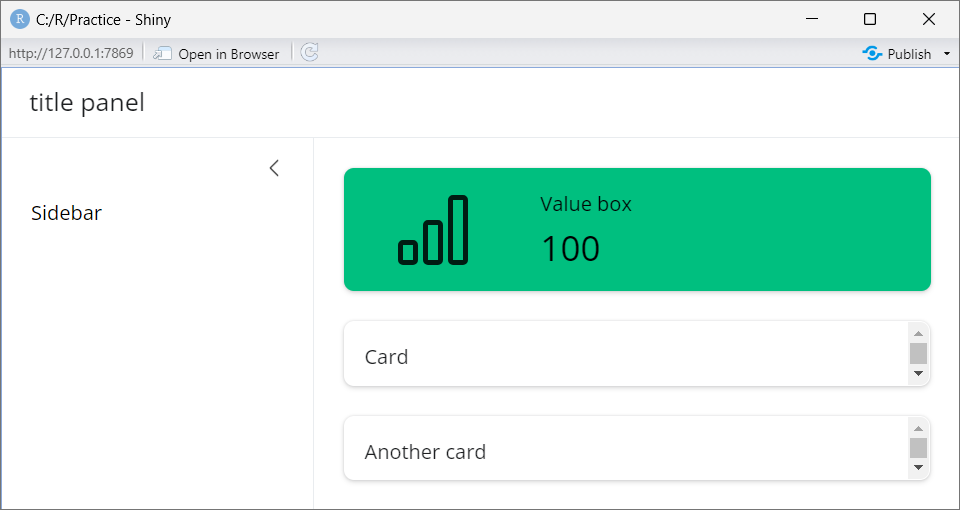
value_box() 함수를 통해서도 필요한 정보를 출력할 수 있다.
1
2
3
4
5
6
7
8
9
10
11
12
13
14
15
16
value_box(
  title,
  value,
  ...,
  showcase = NULL,
  showcase_layout = c("left center", "top right", "bottom"),
  full_screen = FALSE,
  theme = NULL,
  height = NULL,
  max_height = NULL,
  min_height = NULL,
  fill = TRUE,
  class = NULL,
  id = NULL,
  theme_color = deprecated()
)
1
2
3
4
5
6
7
8
9
10
11
12
ui <- page_sidebar(
  title = "title panel",
  sidebar = sidebar("Sidebar"),
  value_box(
    title = "Value box",
    value = 100,
    showcase = bsicons::bs_icon("bar-chart"),
    theme = "teal"
  ),
  card("Card"),
  card("Another card")
)
참고자료
This post is licensed under CC BY 4.0 by the author.


