Marp 사용법
마크다운, markdown, Marp, 슬라이드, slide 만들기
마크다운
기본 아래 내용을 아래 내용을 참고한다.
- https://yeonkyupark.github.io/posts/markdown/
Marp
Marp(Markdown Presentation Ecosystem)는 Markdown을 기반으로 프레젠테이션을 제작하는 오픈 소스 도구다. Markdown 문법을 사용하여 슬라이드를 작성할 수 있으며, 간결한 코드로 효과적인 발표 자료를 만들 수 있다.
| 항목 | 내용 |
|---|---|
| 주요 특징 | Markdown 기반 슬라이드 제작 |
| 지원 포맷 | HTML, PDF, PPTX 등으로 변환 가능 |
| 사용 환경 | VS Code 확장, CLI, Web App |
| 테마 및 스타일 | CSS, Marpit 프레임워크 지원 |
- Markdown 문법 지원
- 일반적인 Markdown 문법을 그대로 사용하여 슬라이드 작성이 가능
- 다양한 출력 형식 지원
- HTML, PDF, PPTX 등으로 변환 가능
- VS Code 확장 및 CLI 지원
- VS Code에서
Marp for VS Code확장을 설치하면 바로 사용 가능 - CLI 도구(Marp CLI)를 사용하여 커맨드라인에서 변환 가능
- VS Code에서
- Marpit 프레임워크 지원
- 슬라이드 테마 및 스타일을 커스터마이징 가능
Marp 설치
- VS Code 확장 사용
Marp for VS Code설치.md파일을 작성한 후Marp미리보기 및 변환 기능 활용
- CLI(Command Line Interface) 사용
npm install -g @marp-team/marp-cli설치marp example.md -o example.pdf명령어로 PDF 변환 가능
Marp 문법
YAML metadata 추가
1
2
3
---
marp: true
---
이후 마크다운 문법으로 문서를 작성한다.
슬라이드 분리
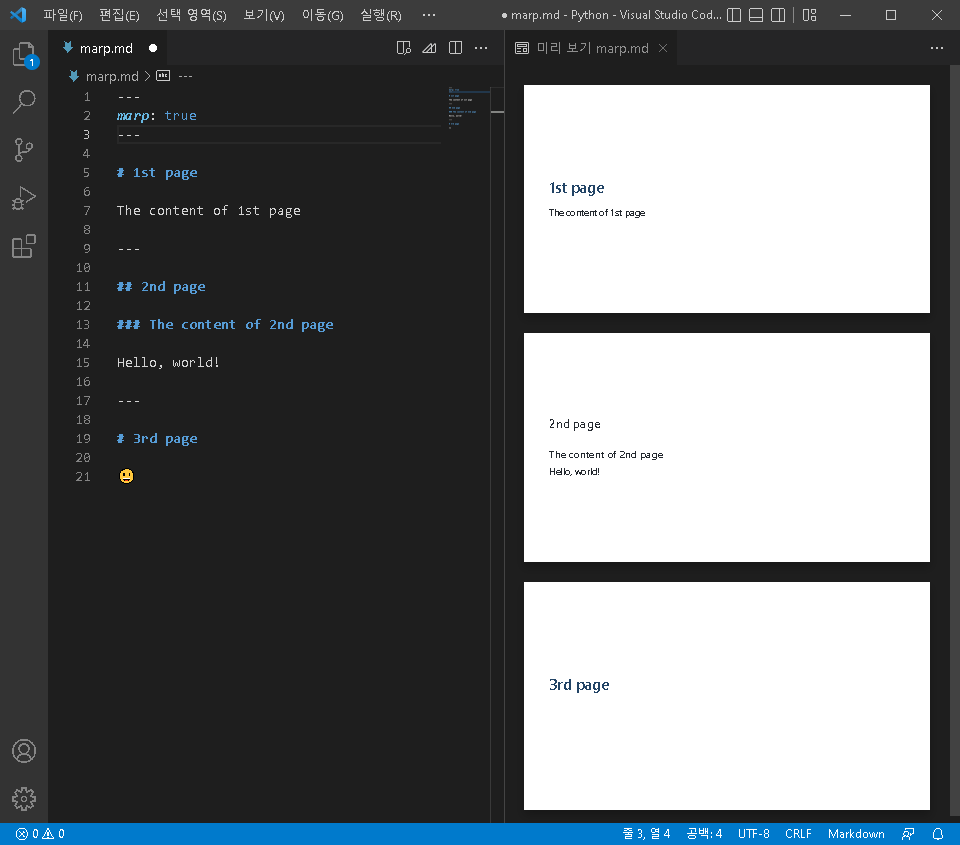
기본적으로 슬라이드 분리는 수평선(---) 기호를 이용한다.
1
2
3
4
5
6
7
8
9
10
11
12
13
14
15
16
17
# 1st page

The content of 1st page

---

## 2nd page

### The content of 2nd page

Hello, world!

---

# 3rd page

😃
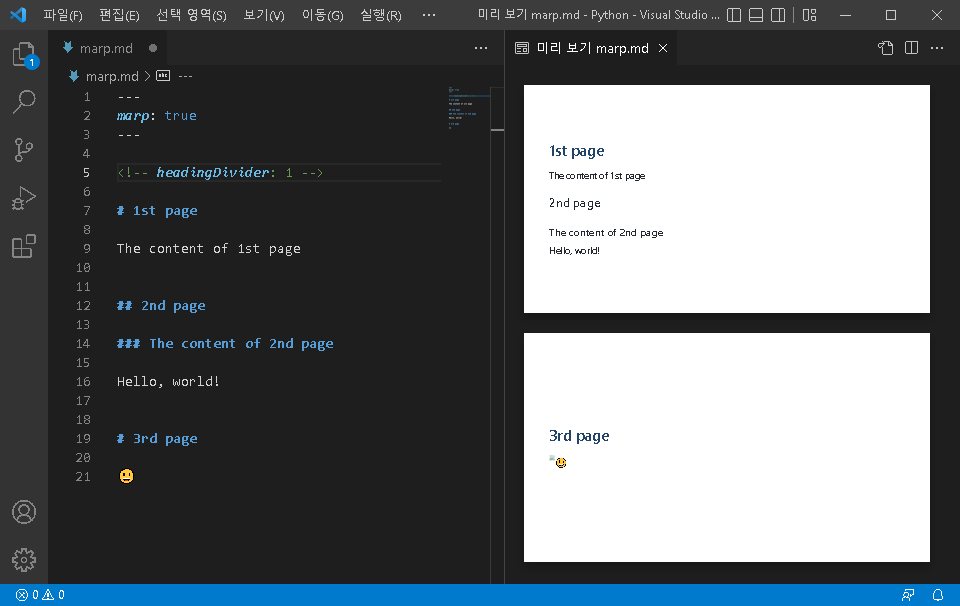
특정 Heading 깊이로 슬라이드를 분리하려면 아래와 같이 headingDivider 옵션을 이용한다.
1
2
3
4
5
6
7
8
9
10
11
12
13
14
<!-- headingDivider: 1 -->
# 1st page

The content of 1st page

## 2nd page

### The content of 2nd page

Hello, world!

# 3rd page

😃
배경색 지정
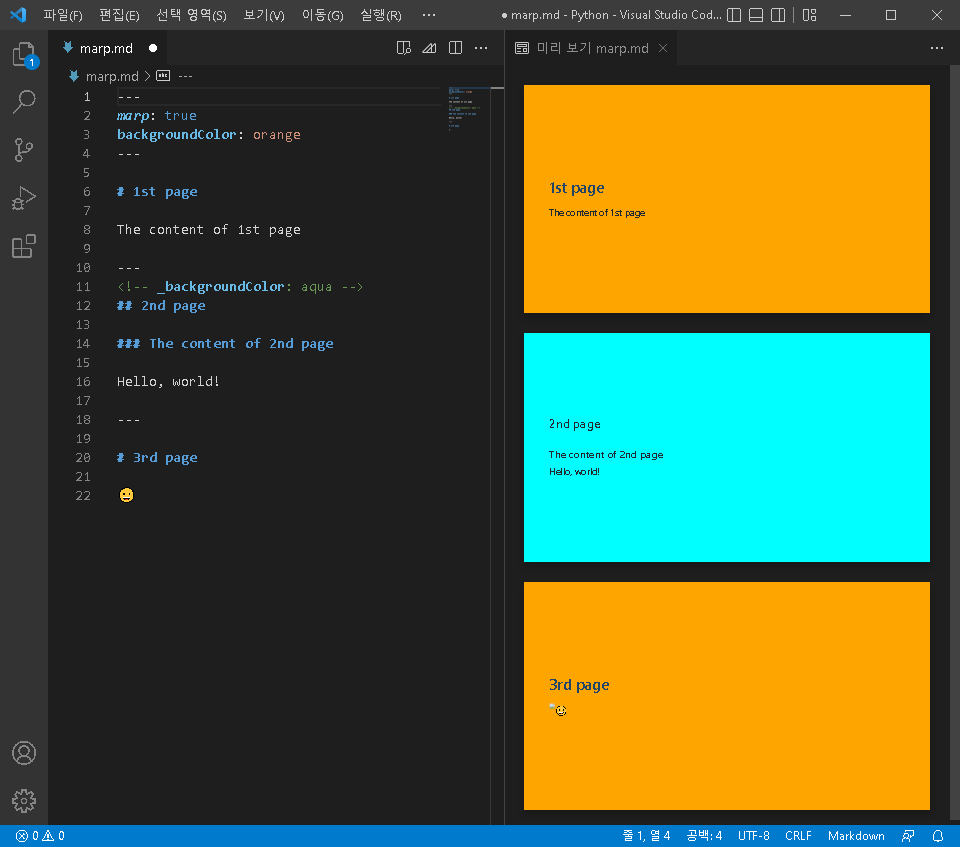
배경색은 backgroundColor 옵션을 통해 전체적으로 적용할 수 있다. 특정 슬라이드만 적용하기 위해서는 _ 접두사를 이용하여 지역적으로 변경이 가능하다.
1
2
3
4
5
6
7
8
9
10
11
12
13
14
15
16
17
18
19
20
21
22
23
---
marp: true
backgroundColor: orange
---

# 1st page

The content of 1st page

---

<!-- _backgroundColor: aqua -->
## 2nd page

### The content of 2nd page

Hello, world!

---

# 3rd page

😀
이미지 처리
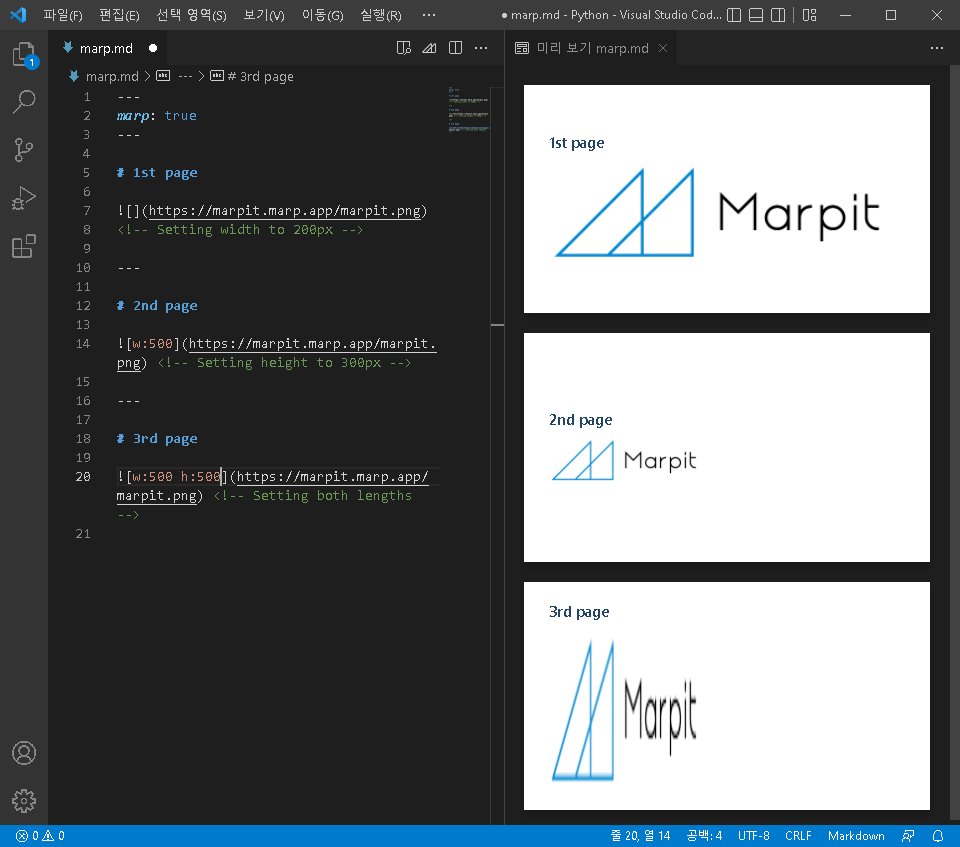
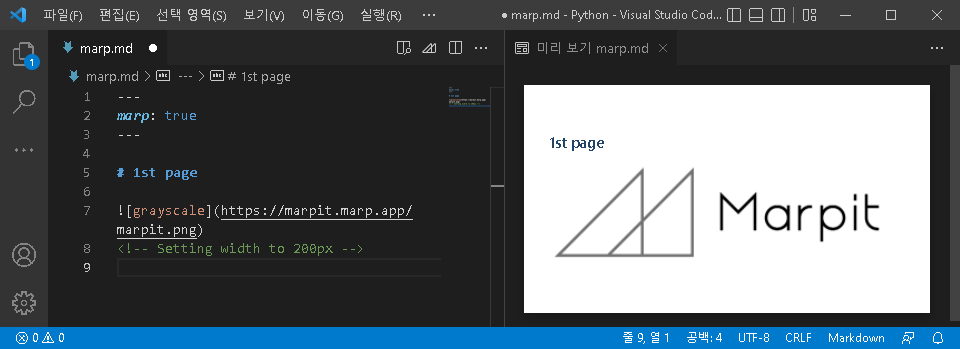
이미지 크기 조절은 width 또는 w, height 또는 h 옵션으로 처리가 가능하다.
1
2
3
4
5
6
7
8
# 1st page
<!-- Setting width to 200px -->
---
# 2nd page
 <!-- Setting height to 300px -->
---
# 3rd page
 <!-- Setting both lengths -->
이미지에 다음과 같은 필터를 처리할 수 있다.
| Markdown | w/ arguments |
|---|---|
![blur]() | ![blur:10px]() |
![brightness]() | ![brightness:1.5]() |
![contrast]() | ![contrast:200%]() |
![drop-shadow]() | ![drop-shadow:0,5px,10px,rgba(0,0,0,.4)]() |
![grayscale]() | ![grayscale:1]() |
![hue-rotate]() | ![hue-rotate:180deg]() |
![invert]() | ![invert:100%]() |
![opacity]() | ![opacity:.5]() |
![saturate]() | ![saturate:2.0]() |
![sepia]() | ![sepia:1.0]() |
1
2
# 1st page
<!-- Setting width to 200px -->
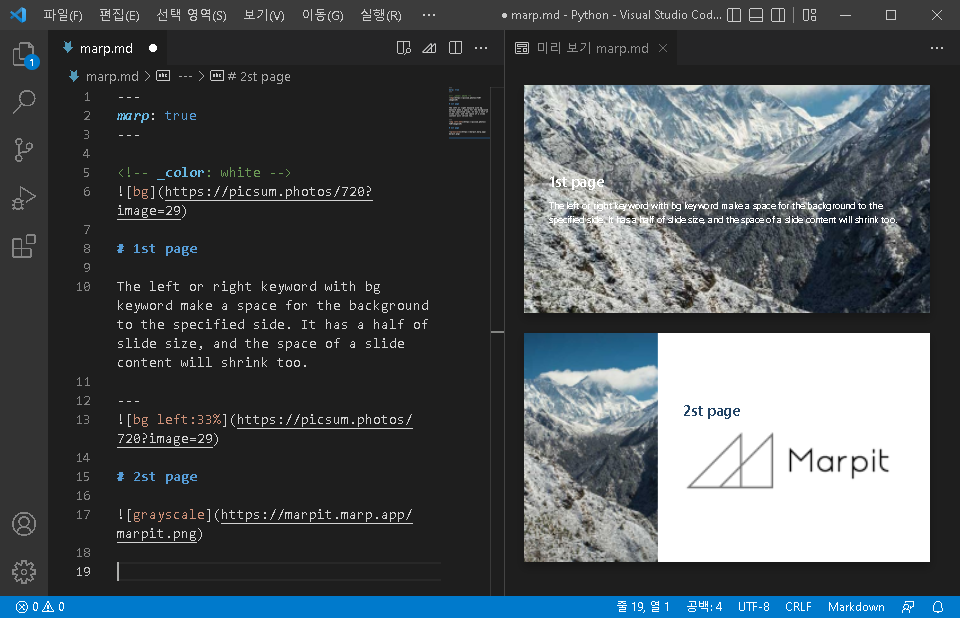
또한 다음과 같이 bg 옵션으로 배경화면을 지정할 수 있다.
1
2
3
4
5
6
7
8
<!-- _color: white -->

# 1st page
The left or right keyword with bg keyword make a space for the background to the specified side. It has a half of slide size, and the space of a slide content will shrink too.
---

# 2st page

이미지 관련 자세한 내용은 아래 문서를 참고한다.
- https://marpit.marp.app/image-syntax
테마 지정
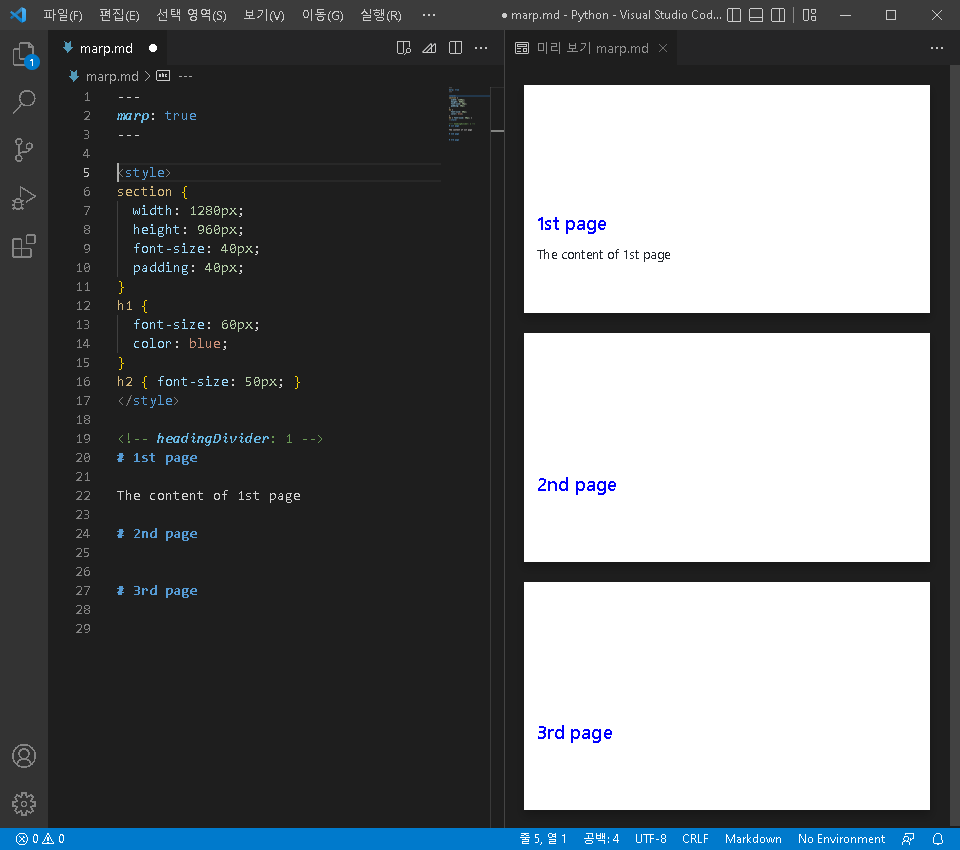
CSS 설정으로 맞춤 테마를 제작할 수 있다. HTML 구조와 같이 각 슬라이드는 <section> 태그로 묶여 있다. 따라서 <section>을 수정하여 원하는 형태로 슬라이드를 구성하고 내부 h1, h2 등 필요한 태그에 대해 추가 작업을 한다.
1
2
3
4
5
6
7
8
9
10
11
12
13
14
15
16
17
/* @theme marpit-theme */

section {
  width: 1280px;
  height: 960px;
  font-size: 40px;
  padding: 40px;
}

h1 {
  font-size: 60px;
  color: blue;
}

h2 {
  font-size: 50px;
}
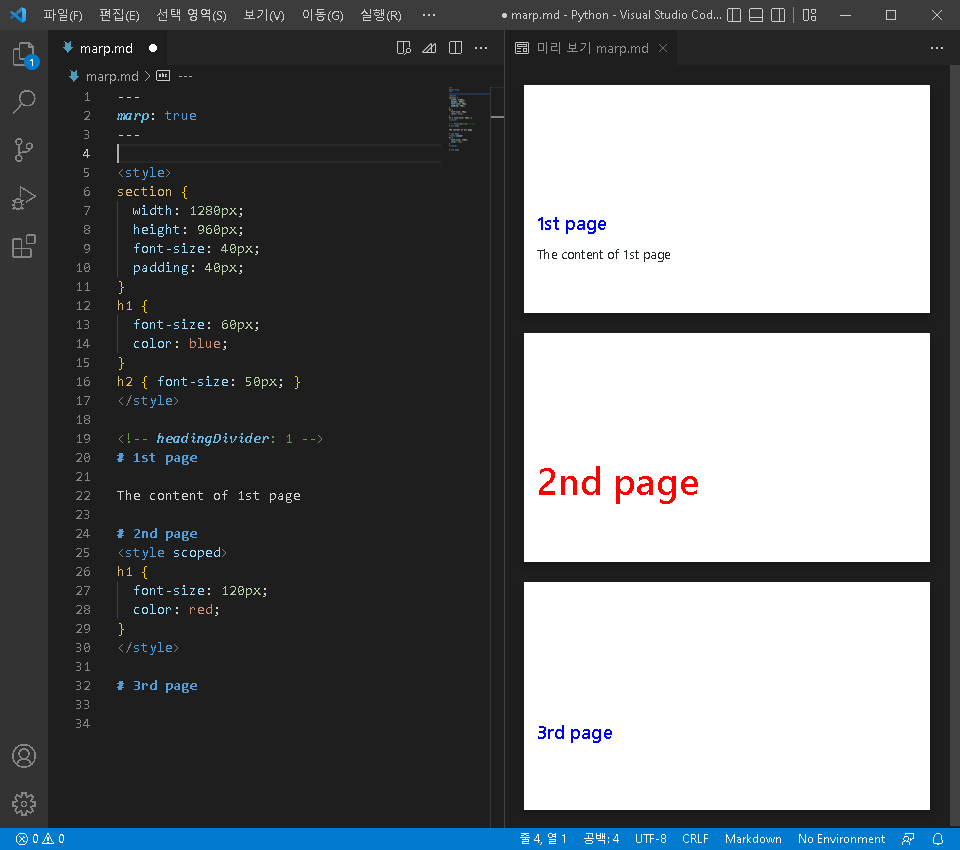
<style> 태그 내 scoped 속성을 추가하면 해당 슬라이드만 적용되는 inline sytle을 작성할 수 있다.
1
2
3
4
5
6
<style scoped>
h1 {
  font-size: 120px;
  color: red;
}
</style>
컬럼 나누기
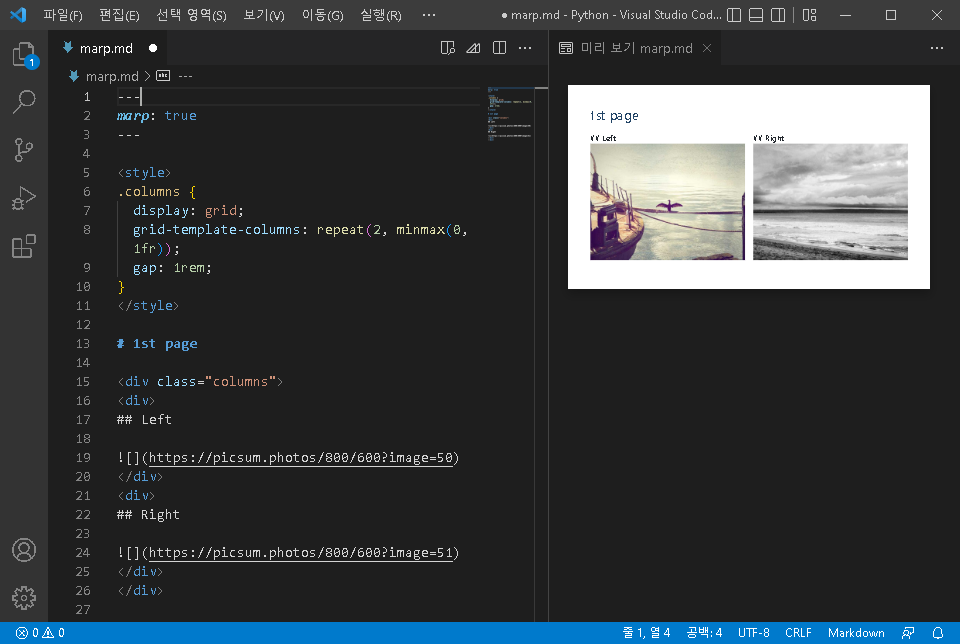
슬라이드 내 컬럼은 다음과 같이 만들 수 있다.
1
2
3
4
5
6
<style>
.columns {
  display: grid;
  grid-template-columns: repeat(2, minmax(0, 1fr));
  gap: 1rem;
}
혹, 컬럼이 정상적으로 출력되지 않는다면 편집창 우측 상단 “Marp icon -> Open Extension Settings -> Enable HTML” 옵션이 켜져 있는지 확인한다1.
아이콘
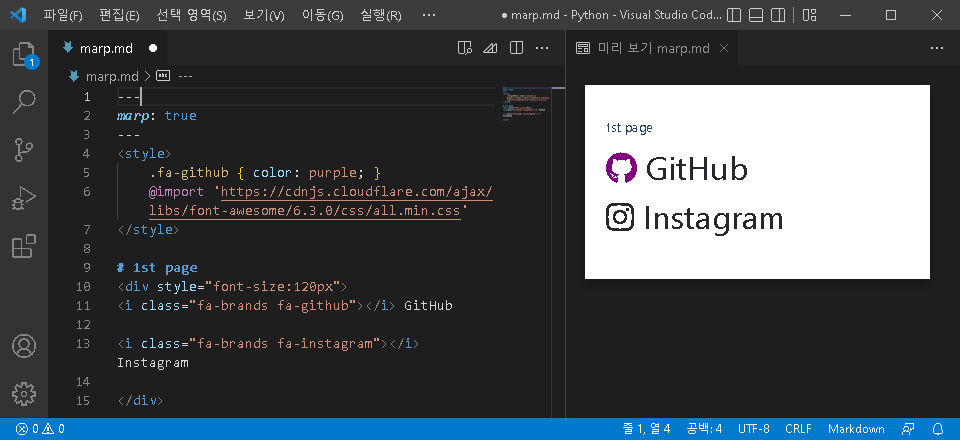
Font Awesome에서 제공하는 아이콘을 활용할 수 있다. 아이콘 사용을 위해 fontmatter에 아래와 같이 추가한다.
1
2
3
4
5
6
7
---
marp: true
theme: default
style: |
  .fa-github { color: purple; }
  @import 'https://cdnjs.cloudflare.com/ajax/libs/font-awesome/6.3.0/css/all.min.css'
---
참고자료
- MarkSlides
- Marpit Markdown
- packages: markdown-it-plugin
- Unleash Your Creativity with Marp Presentation Customization
각주 돌아가기
https://github.com/marp-team/marp-vscode/issues/294#issuecomment-923994180 ↩︎
